


.jpg)
.png)
.png)
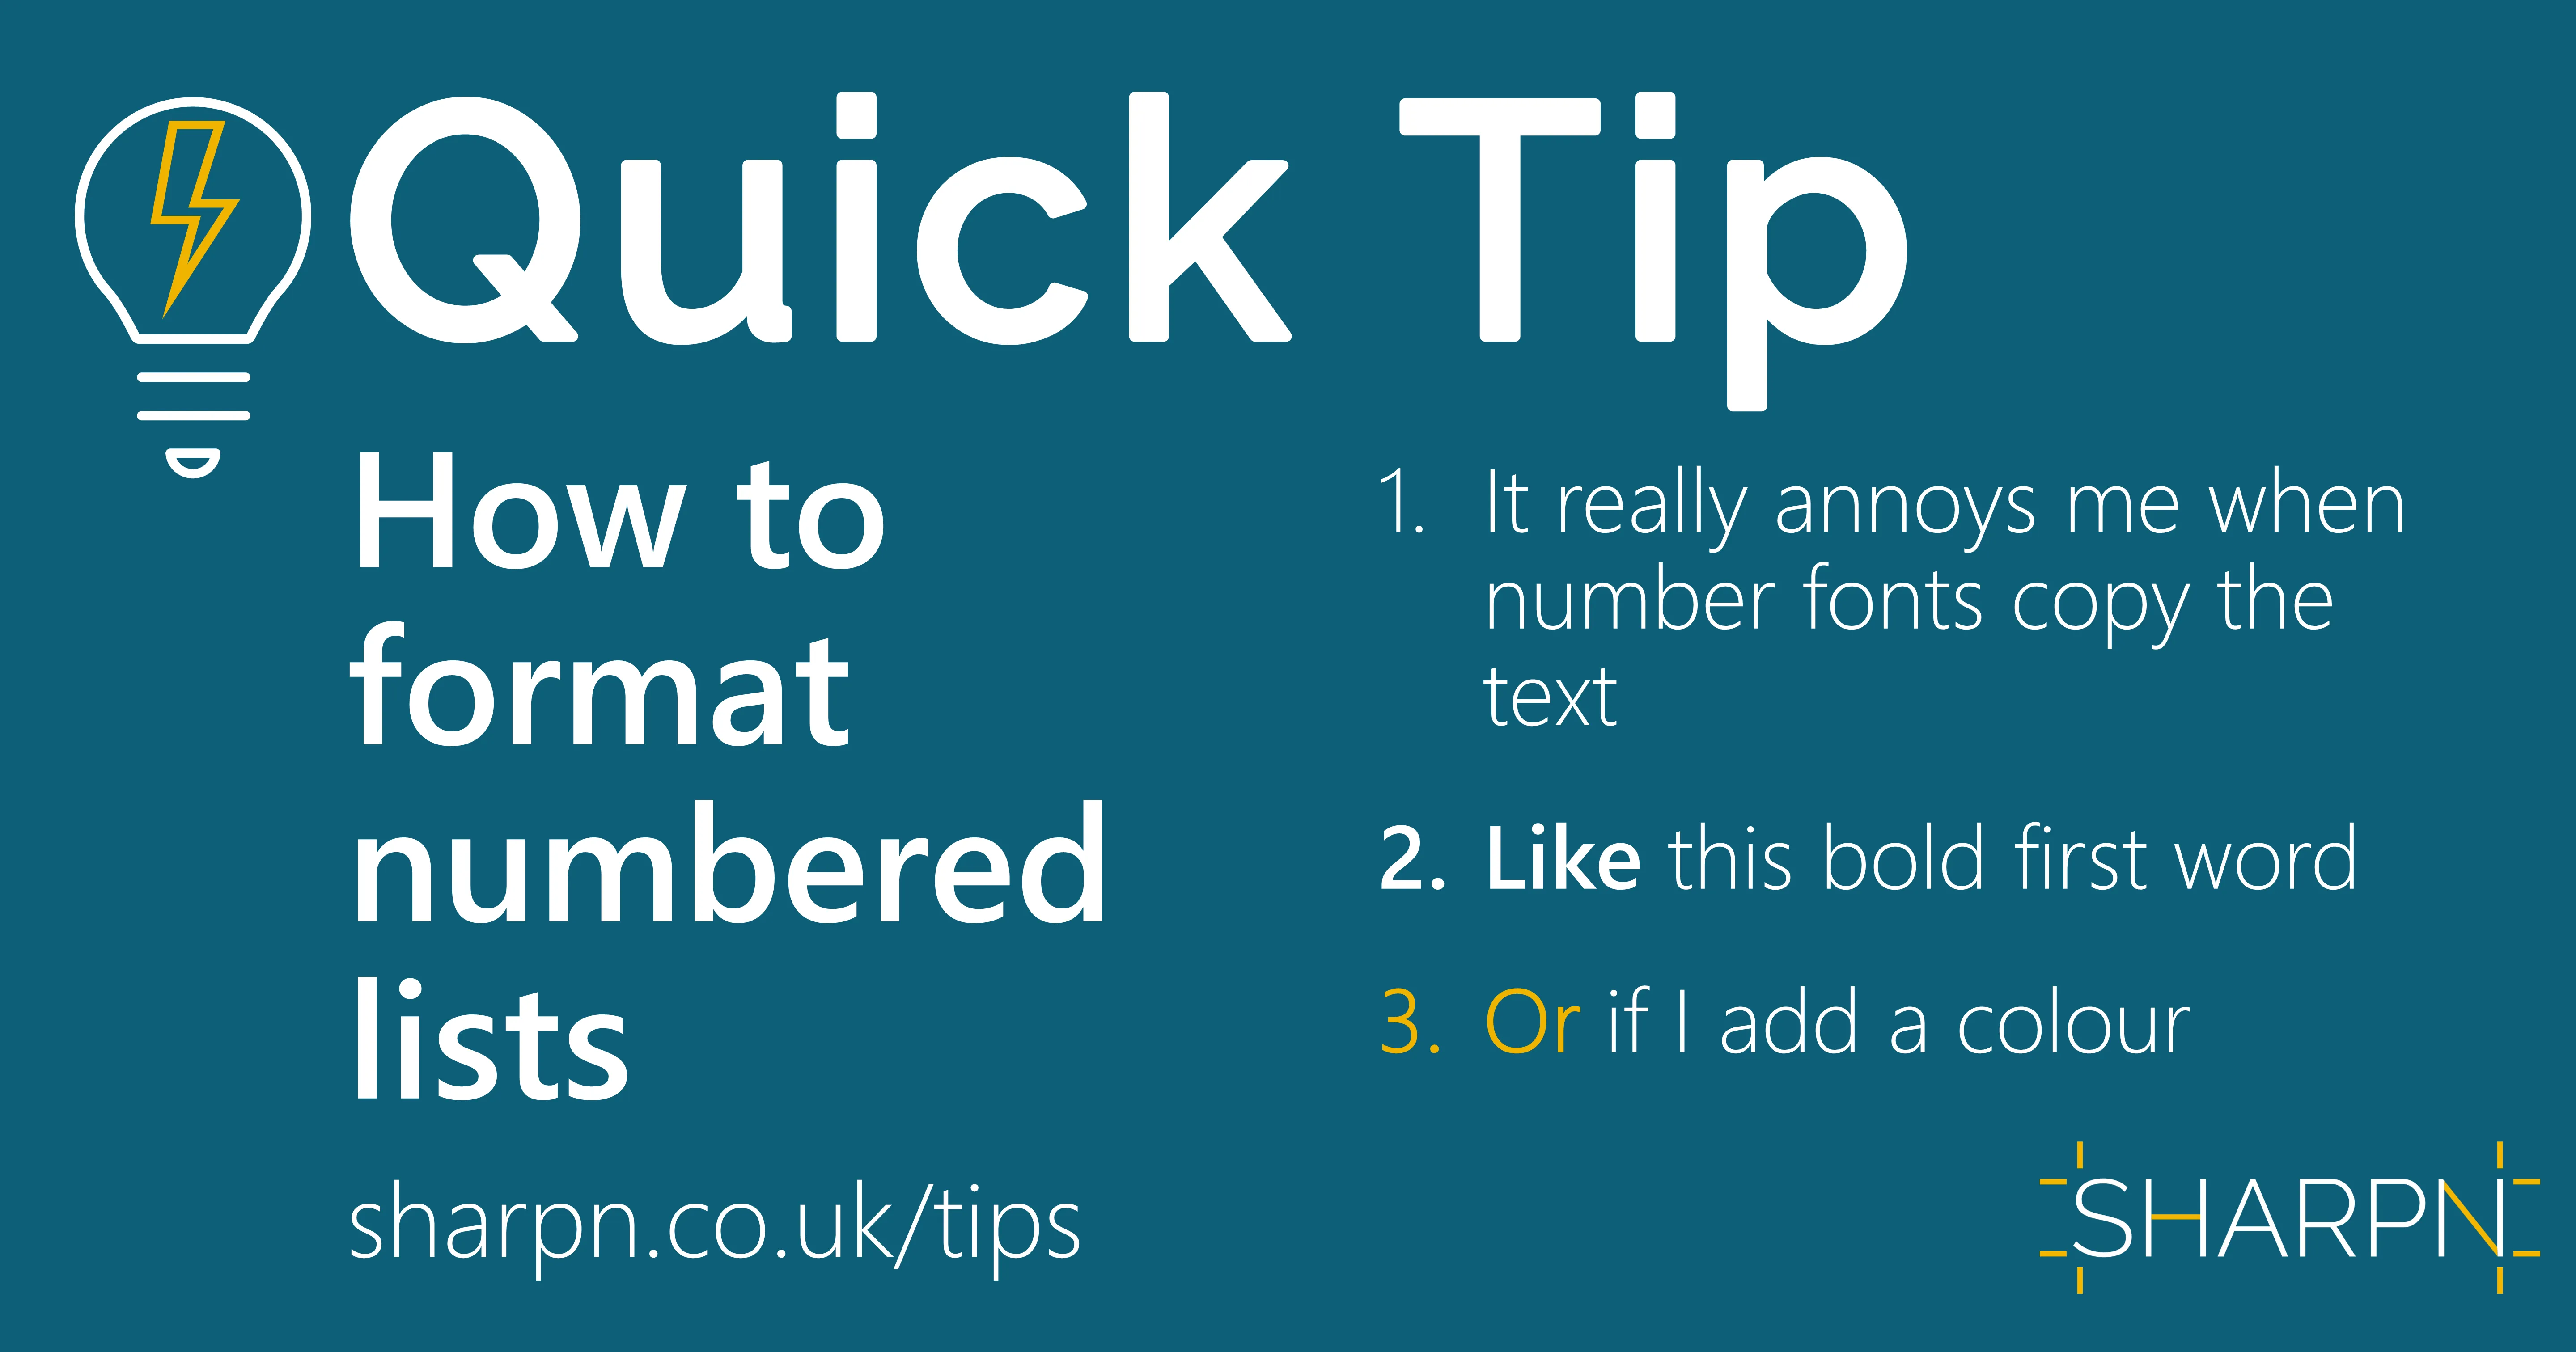
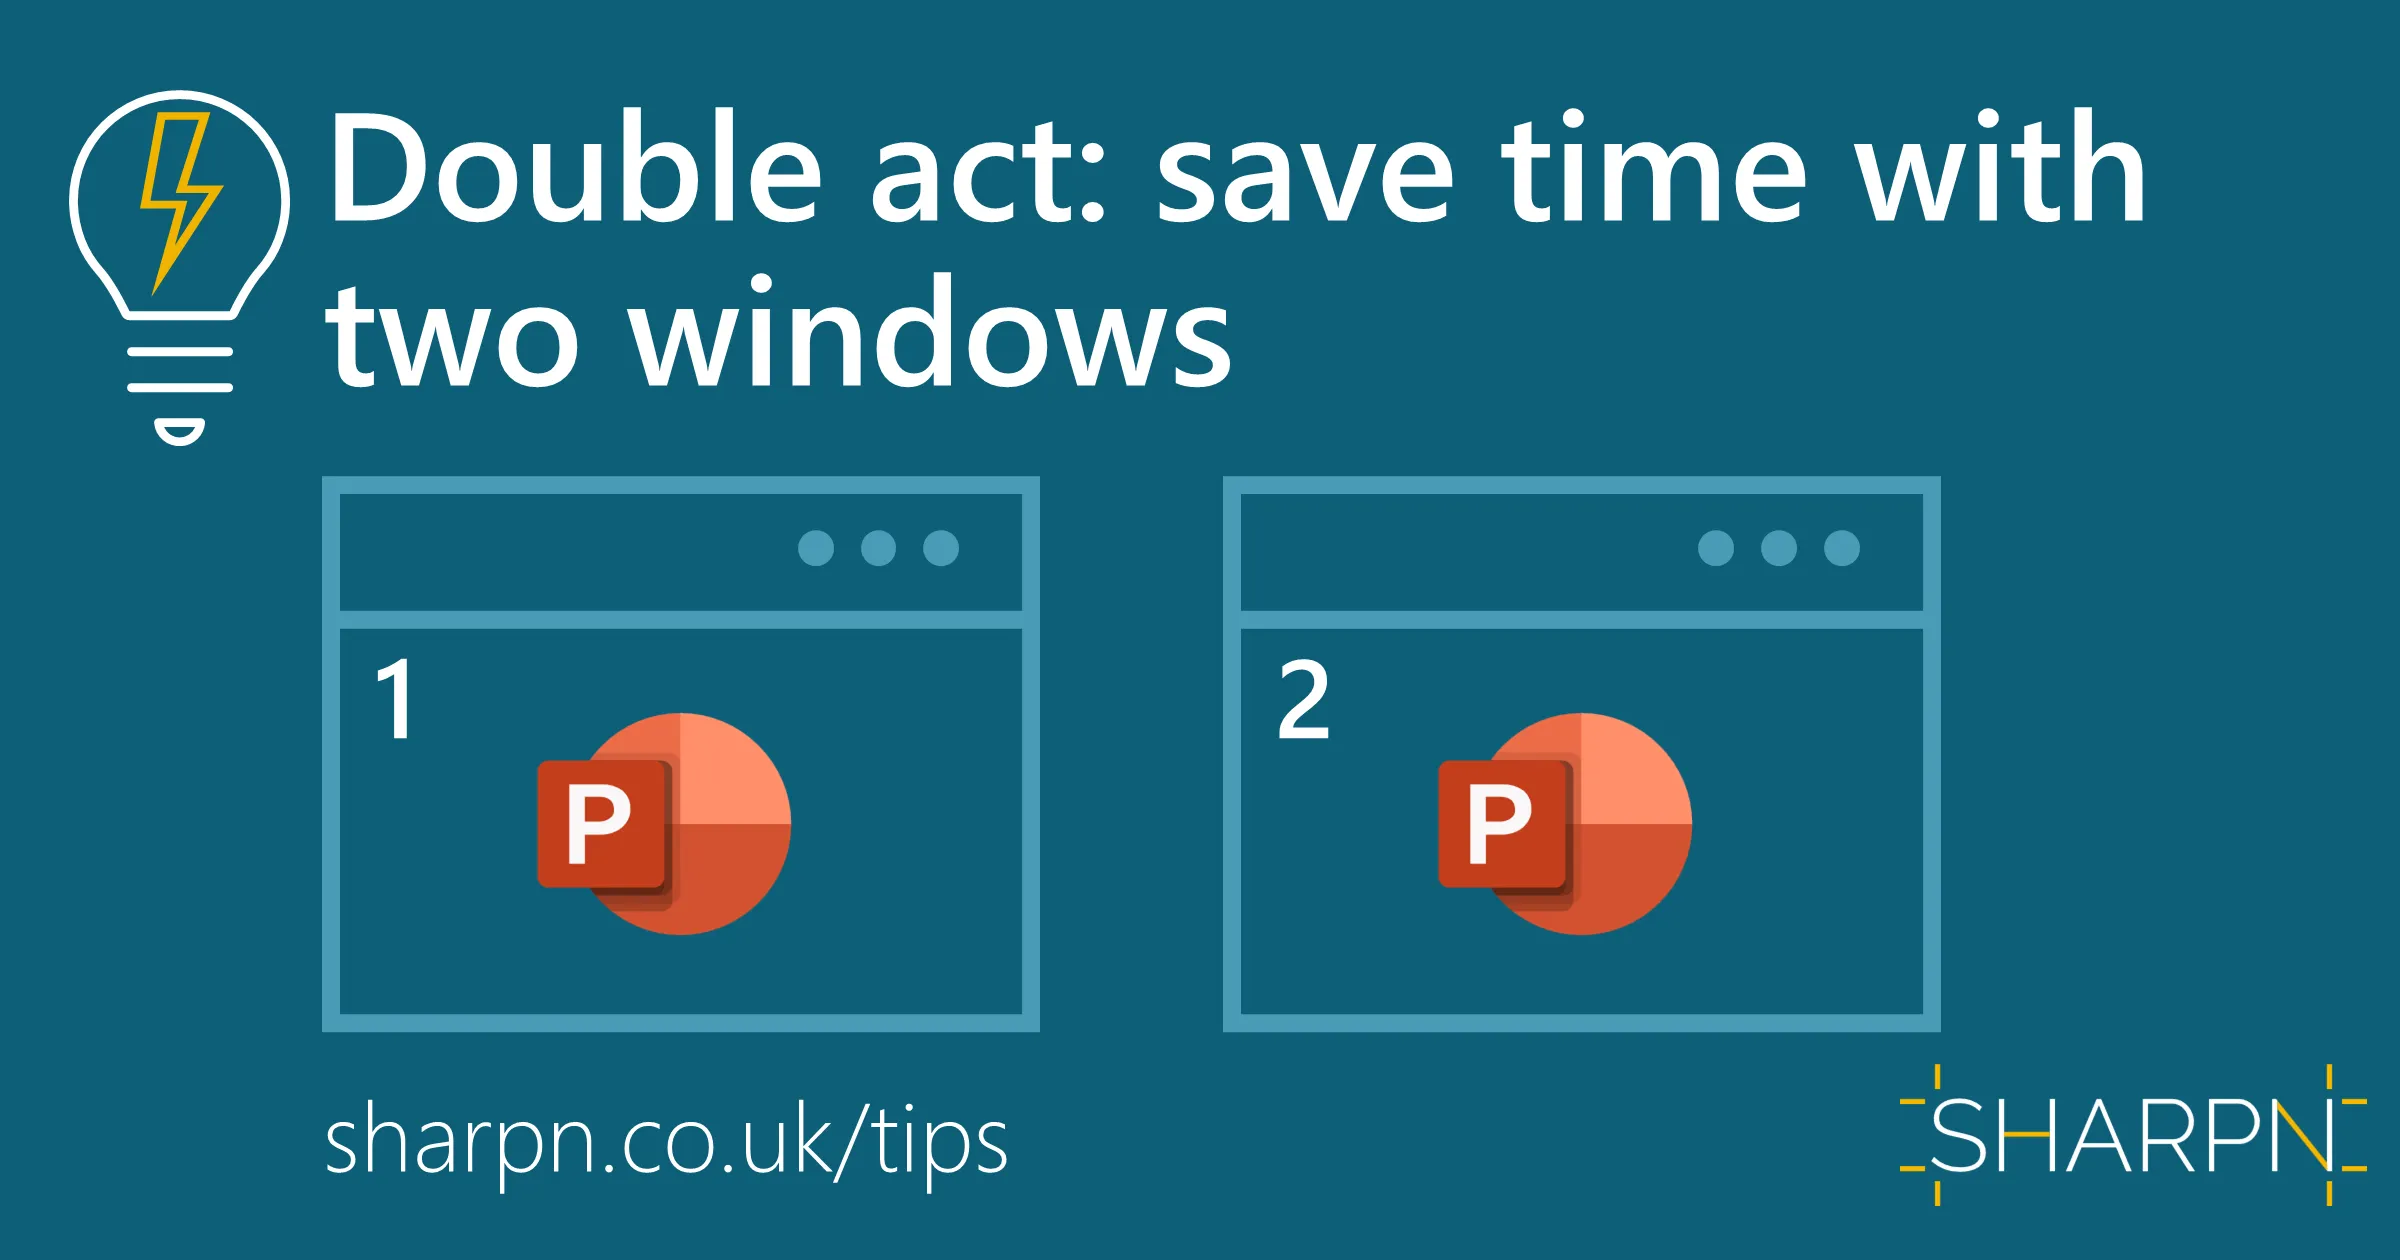
How to format numbered lists
If you use numbered lists in PowerPoint, you can only set the colour and the size. Everything else is inherited from the first character: font, bold, italics etc. Most of the time that’s fine, but sometimes it’s not. What if you want to use a different font? Or have bold numbers? Or keep the numbers regular if the first word is bold?
There’s a quick workaround using a special character called a zero-width space. Essentially it’s invisible, but you can format it. So if it’s the first character of your line, you can use it to control the number formats without affecting your text.
To insert the character
Windows
Put the cursor at the beginning of the numbered line

Insert tab > Symbol
In the Font dropdown choose (normal text)
In the Character code box type 200C. This will highlight what looks like an empty box.
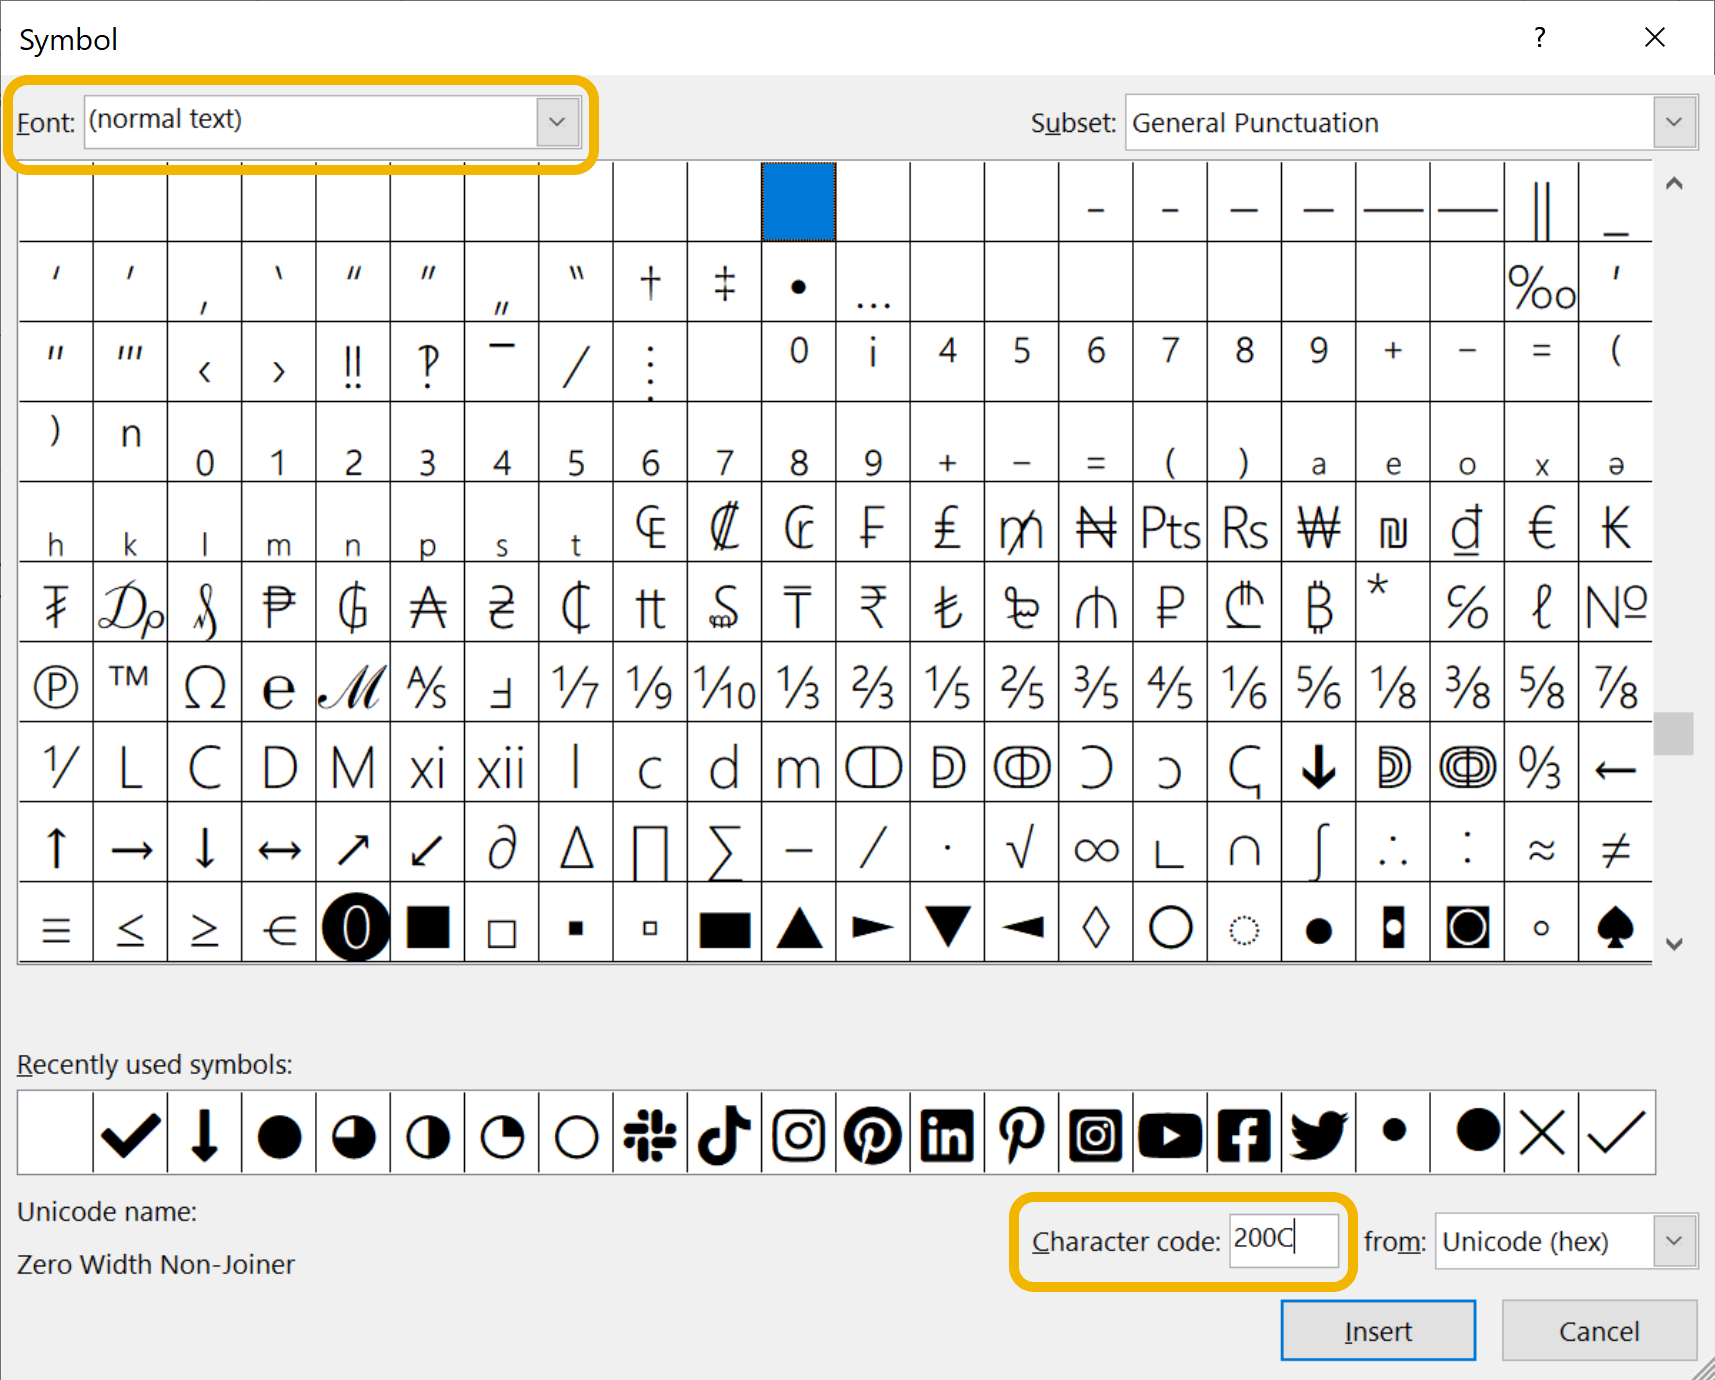
Click Insert. Remember that the character is invisible, so it will not look like anything has happened.
Mac
This is much trickier on a Mac, as the advanced Symbols dialog is hidden away like an Easter Egg:
Put the cursor at the beginning of the numbered line
Insert tab > Symbol
This will usually show you the basic emoji picker, which is no good for this. (If you see the Character Viewer, skip the next step).

To get to the Character Viewer, grab the picker box with the mouse and move it slightly. A little icon will appear in the top right. Click this and it will change to the Character Viewer box.

Click in the search box and type space.
Under the Unicode section you’ll see several empty slots. Click on them in turn until you find the one labelled ZERO WIDTH SPACE on the right. (On my Mac, it's just above the B but it may have a different layout on yours, so check in the right hand pane that you have the right character.)
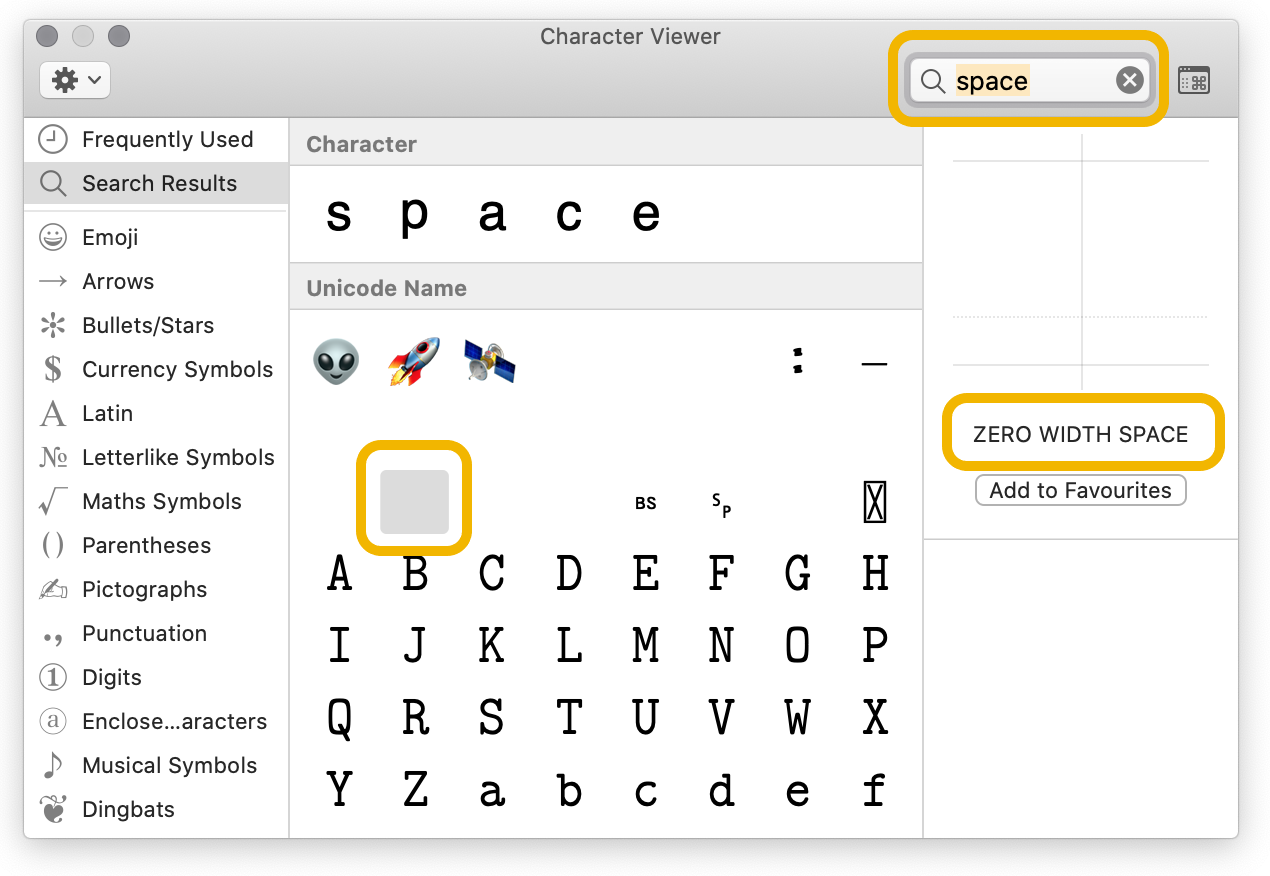
To insert it, double-click on it. Remember that the character is invisible, so it will not look like anything has happened.
Before you exit, you might want to add it to your favourites.
Either close the Character Viewer window, or change it back to the basic picker by clicking the icon in the top left again.
To format it
Now you can format the character, and with it the numbers. The tricky bit is selecting it – it is invisible, after all. Keystrokes are the only way to be sure:
Press the Home key (CMD + Left arrow on Mac) to make sure you are at the true beginning of the line.
Hold down SHIFT and press the right arrow key once. This will select the next character, which is your zero-width space. But it won’t look like it has done anything – just have faith that it has. You might find that the cursor has disappeared, don’t worry.
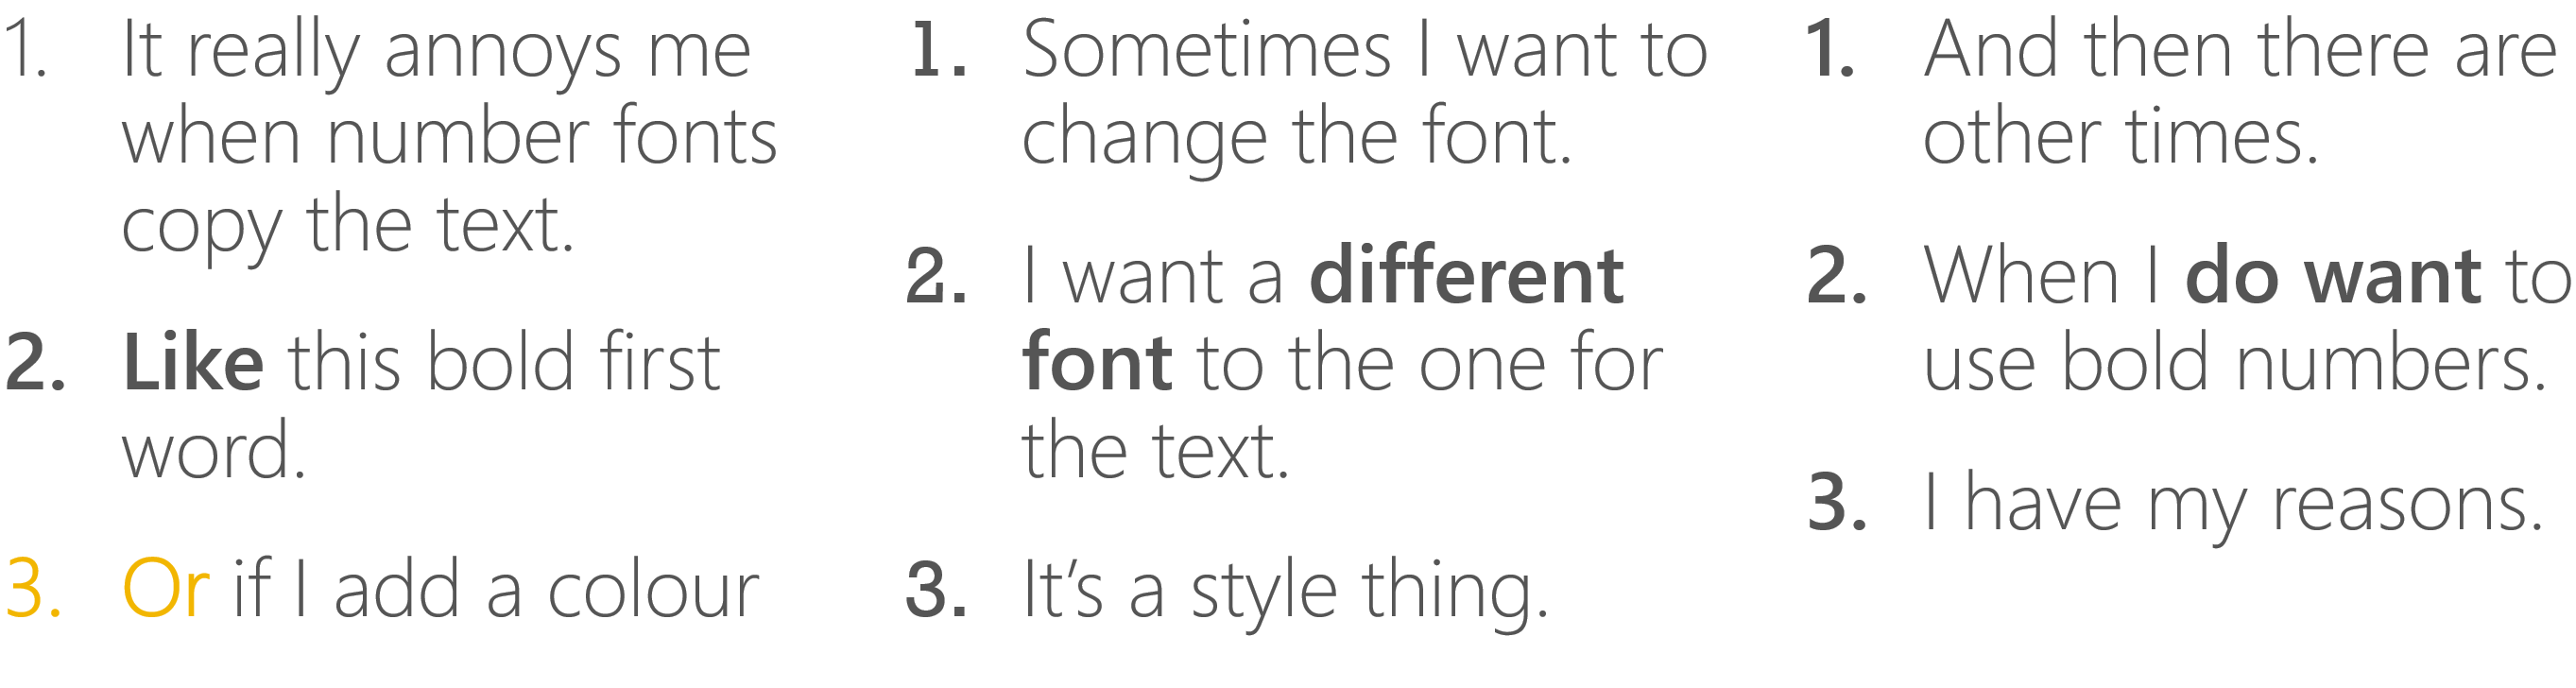
Now you have selected it, you can make it bold, change the font and so on, and you will see those changes reflected in the numbers.
Don’t go wild. There is not usually any reason to make the numbers stand out too much. The main time I use this is when I don’t want a bold number but I do want a bold first word.
Alternative way to insert a zero-width space
While researching the Mac instructions, I came across this site, which will copy the character onto your clipboard. Then you can simply go to the beginning of the line and paste. This might be a bit quicker but I can't guarantee the site will always be there, or work properly.
Want more tips like this in your inbox?
It's useful*
It doesn't flood your inbox (monthly-ish).


